Installing sonarqube on centos
SonarQube is an open source tool for source code quality management, code analysis etc. It is the most widely used tool for code coverage and analysis
Note: SonarQube requires atleast 2GB of RAM to run efficiently. Please check the SonarQube official doc to know the detailed prerequisites.
you can install database Mysql or postgresql or Mariadb as per your environment.
Step 1: Installing Java
Now, install Java as below
[root@lampblogs ~]# yum install java
or
[root@lampblogs ~]# yum install java-1.8.0-openjdk-devel.x86_64
check java version
[root@lampblogs ~]# java -version
openjdk version "1.8.0_212"
Step 2: Install and configure mysql
wget http://repo.mysql.com/mysql-community-release-el7-5.noarch.rpm
rpm -ivh mysql-community-release-el7-5.noarch.rpm
yum install mysql-server
once mysql is installed start service
[root@lampblogs ~]# systemctl start mysqldconfigure mysql by running mysql_secure_installation
[root@lampblogs ~]# mysql_secure_installationstep 3: create db and user for sonarqube
Login from mysql -u root -p and run below commands from mysql shell
[root@lampblogs ~]# mysql -u root -pCREATE DATABASE sonarqube_db;
CREATE USER 'sonarqube_user'@'localhost' IDENTIFIED BY 'password';
GRANT ALL PRIVILEGES ON sonarqube_db.* TO 'sonarqube_user'@'localhost' IDENTIFIED BY 'password';
FLUSH PRIVILEGES;
exitReplace sonarqube_db,sonarqube_user and password with your own.
Create a new user for running SonarQube. This is because you cannot run the newer versions of elasticsearch as the root user.
[root@lampblogs ~]# useradd sonarqube
[root@lampblogs ~]# passwd sonarqube
Step 4: Download and install sonarqube
Download the latest version of SonarQube from this URL
[root@lampblogs ~]# cd /opt
[root@lampblogs opt]# wget https://binaries.sonarsource.com/Distribution/sonarqube/sonarqube-6.7.7.zip
[root@lampblogs opt]# mv sonarqube-6.7.7 sonarqube
we are running Sonarqube as a separate user, assign proper ownership to Sonarqube files.
[root@lampblogs ~]# chown sonarqube. /opt/sonarqube -RNext, open the SonarQube configuration file 'conf/sonar.properties'
[root@lampblogs ~]# vi /opt/sonarqube/conf/sonar.propertiesEnter database details as below
sonar.jdbc.username=sonarqube_user
sonar.jdbc.password=password
sonar.jdbc.url=jdbc:mysql://localhost:3306/sonarqube_db?useUnicode=true&characterEncoding=utf8&rewriteBatchedStatements=true&useConfigs=maxPerformance
Open the SonarQube startup script and specify the sonarqube user details.
[root@lampblogs ~]# vi /opt/sonarqube/bin/linux-x86-64/sonar.shAdd below entry in above file
RUN_AS_USER=sonarqubeStep 5: start sonarQube
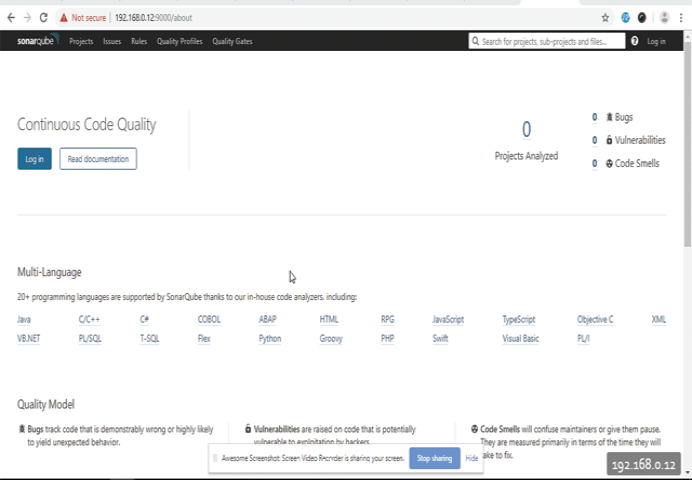
[root@lampblogs ~]# /opt/sonarqube/bin/linux-x86-64/sonar.sh startThat’s all we have configured sonarqube successfully in centos.Now you can access it using http://ip_address:9000
Step 6: configure sonarqube as systemd service
[root@lampblogs ~]# vi vi /etc/systemd/system/sonar.serviceAdd below lines to above file
[Unit]
Description=SonarQube service
After=syslog.target network.target
[Service]
Type=forking
ExecStart=/opt/sonarqube/bin/linux-x86-64/sonar.sh start
ExecStop=/opt/sonarqube/bin/linux-x86-64/sonar.sh stop
User=sonarqube
Group=sonarqube
Restart=always
[Install]
WantedBy=multi-user.target
Now stop sonarqube service once and start with systemd as below
[root@lampblogs ~]# /opt/sonarqube/bin/linux-x86-64/sonar.sh stop
[root@lampblogs ~]# systemctl start sonar
[root@lampblogs ~]# systemctl enable sonar
[root@lampblogs ~]# systemctl status sonar
The default username and password of SonarQube is admin and admin.
sample output: