Install and secure phpmyadmin in ubuntu 18.04
phpMyAdmin is a free and open-source web-based database management tool written in PHP. and it provides a graphical web interface for users to manage MySQL or MariaDB database.It is one of the most popular administration tools for Mariadb and Mysql.This allows you to interact with MySQL databases, manage user accounts and privileges, execute SQL-statements, import and export data in a variety of data formats etc.
Before installing phpMyAdmin on Ubuntu 18.04 LTS server, make sure you have setup LAMP stack.Follow our tutorial to install LAMP stack
Step 1: Install phpmyadmin
root@ubuntu18:~# apt update
root@ubuntu18:~# apt install phpmyadmin
root@ubuntu18:~# apt install phpmyadmin
Reading package lists... Done
Building dependency tree
Reading state information... Done
The following packages were automatically installed and are no longer required:
libc-client2007e libpcre2-8-0 mlock
Use 'apt autoremove' to remove them.
The following additional packages will be installed:
dbconfig-common dbconfig-mysql libzip4 php-bz2 php-curl php-mbstring php-pear php-php-gettext php-phpseclib php-tcpdf php-zip php7.2-bz2 php7.2-curl php7.2-mbstring
php7.2-zip
Suggested packages:
php-libsodium php-mcrypt php-gmp php-imagick www-browser
The following NEW packages will be installed:
dbconfig-common dbconfig-mysql libzip4 php-bz2 php-curl php-mbstring php-pear php-php-gettext php-phpseclib php-tcpdf php-zip php7.2-bz2 php7.2-curl php7.2-mbstring
php7.2-zip phpmyadmin
0 upgraded, 16 newly installed, 0 to remove and 55 not upgraded.
Need to get 13.3 MB of archives.
After this operation, 52.3 MB of additional disk space will be used.
Do you want to continue? [Y/n] y
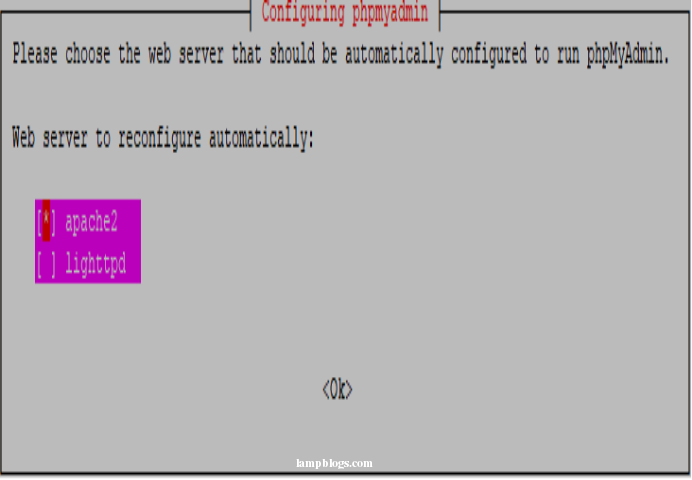
During installation process it will prompt to select web server.
Hit on spacebar to select apache.next hit on tab to select ok and press enter.
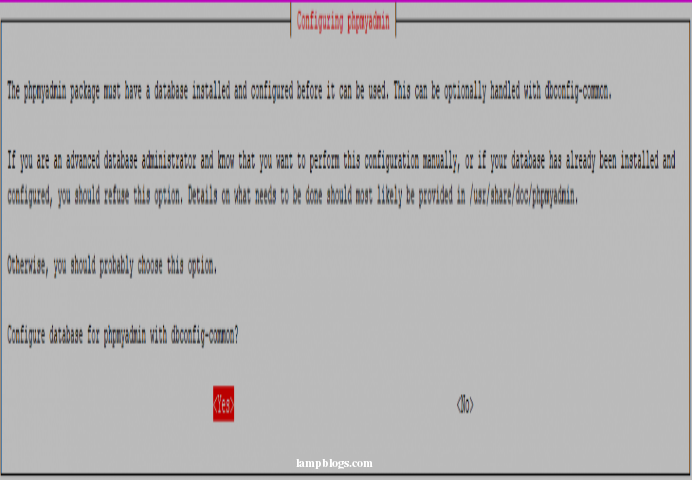
Next, you will be asked whether to use dbconfig-common to set up the db, select yes and hit Enter.
Now Enter password for phpMyAdmin to register with the database, select ok and press Enter.
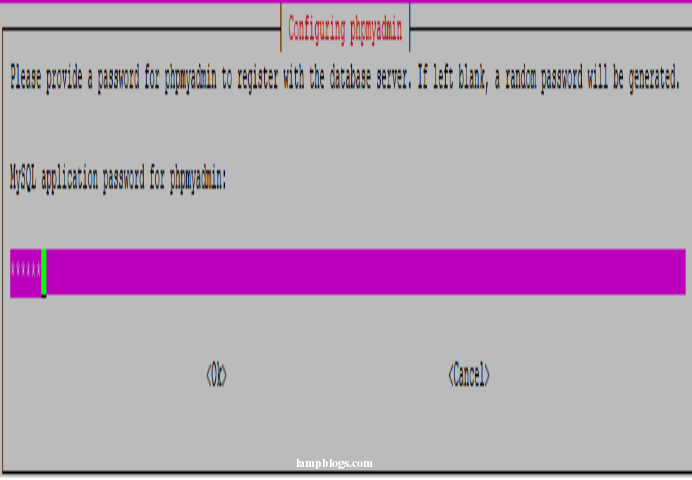
confirm the password again on next window.
once the installation is complete, restart Apache service like below for changes to take effect.
root@ubuntu18:~# systemctl restart apache2Also Read -> How to Install PHP 7.4 on Centos 8
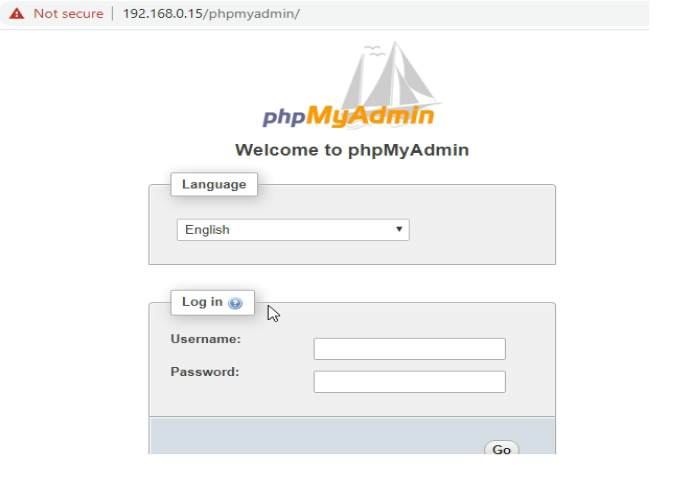
Step 2: Access phpmyadmin
To access the phpMyAdmin, open your favorite browser and type your server’s domain name or IP address followed by /phpmyadmin.
http://domainname or ip_address/phpmyadmin
Step 3: secure phpmyadmin
you can secure phpmyadmin by setting up htaccess in apache.It adds extra layer of security.
open below phpmyadmin.conf file in your favorite editor
root@ubuntu18:~# vi /etc/apache2/conf-available/phpmyadmin.confMake below changes to above file and save it.
<Directory /usr/share/phpmyadmin>
    Options SymLinksIfOwnerMatch
    DirectoryIndex index.php
    AllowOverride All
Next, create a .htaccess file like below
root@ubuntu18:~# vi /usr/share/phpmyadmin/.htaccessAuthType Basic
AuthName "Authorised Access"
AuthUserFile /etc/phpmyadmin/.htpasswd
Require valid-user
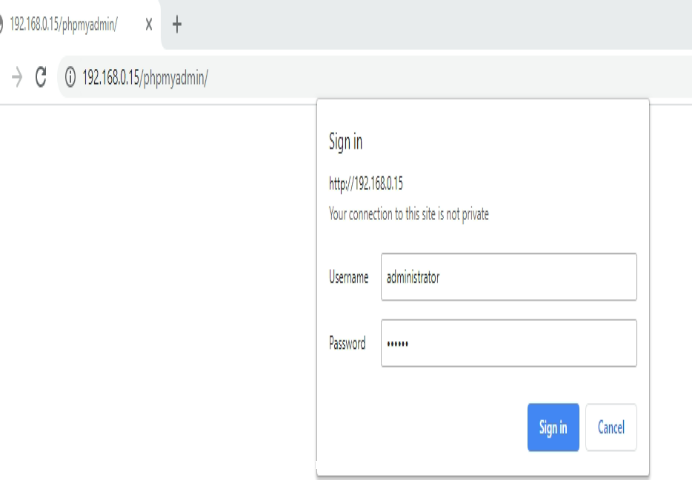
save and close the file.we will create a password file with users using the htpasswd tool that comes with the Apache package. We will store the .htpasswd file in /etc/phpmyadmin directory.Then, create a user named administartor with the htpasswd utility.
root@ubuntu18:~# htpasswd -c /etc/phpmyadmin/.htpasswd administrator
New password:
Re-type new password:
Adding password for user administrator
you can provide any user in place of administrator and set password.
Now restart apache service with following command.
root@ubuntu18:~# systemctl restart apache2now open in your browser.enter username and password.
Another security option is by setting Alias in phpmyadmin.conf
root@ubuntu18:~# vi /etc/apache2/conf-available/phpmyadmin.confchange lines like below. you can add anyname as Alias instead of secret.
#Alias /phpmyadmin /usr/share/phpmyadmin
Alias /secret /usr/share/phpmyadmin
Also Read -> How to Install PgAdmin4 on Ubuntu 18 04
save the file and restart apache service.then open your browser and see
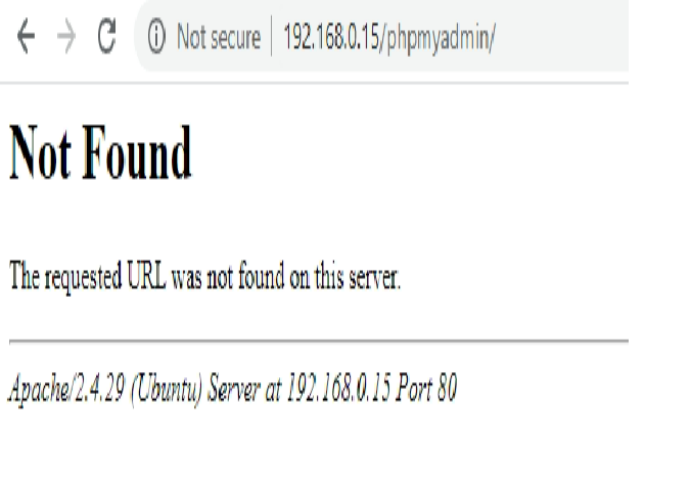
It should access with below url
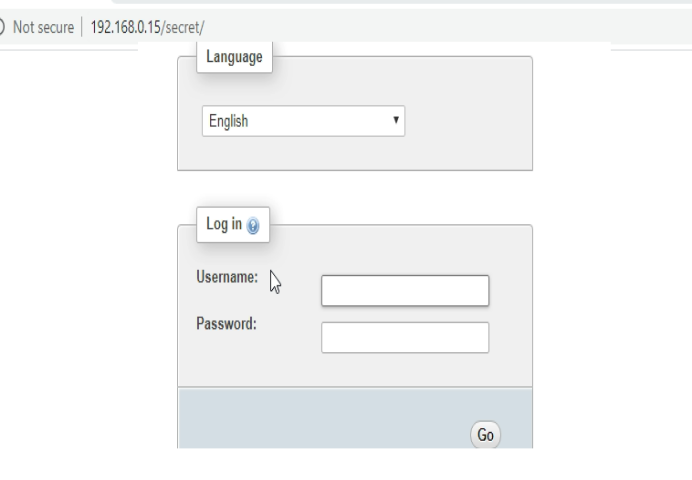
That's it. Now you have successfully secured phpMyAdmin on ubuntu 18.04 server.
Also Read -> How to Install PgAdmin4 on Ubuntu 20 04