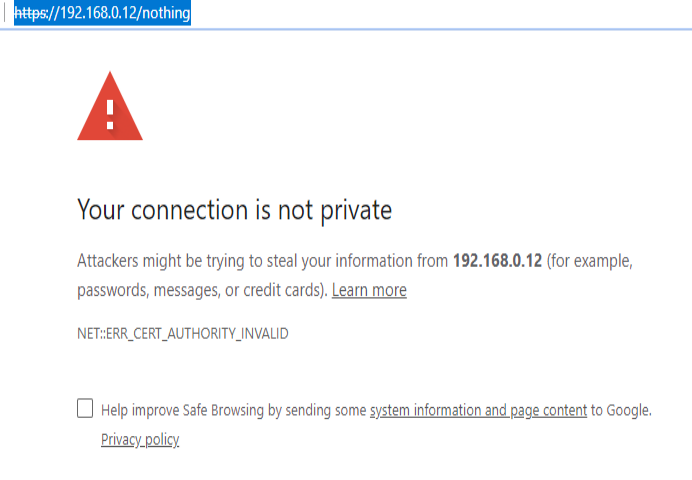
Securing phpmyadmin on centos 7
PhpMyAdmin was created, is a web based MySQL database manage application, which provides a easy way for users to interact with MySQL through a web interface.
Before you move forward with this article, we assume that you have completed a LAMP (Linux, Apache, MySQL/MariaDB, and PHP) and PhpMyAdmin installation on your Linux server. If not, you can follow our below guide to install LAMP stack
you can install latest version of phpmyadmin by using Remi repo
[root@lampblogs ~]# yum install phpMyAdminonce phpmyadmin is installed we will see how to secure it.
Step 1: change default phpmyadmin login url
This will help keep off attackers from effortlessly accessing your PhpMyAdmin application through default login url located http://<ip_address>/phpmyadmin.
The first thing that you will want to do is changing that URL.This will not necessarily stop attackers from targeting your server, but will lower the risks of a successful break-in.
First we will change phpmyadmin login url in Apache
open /etc/httpd/conf.d/phpMyAdmin.conf file if you are using CentOS or /etc/phpmyadmin/apache.conf in Ubuntu.
[root@lampblogs ~]# vi /etc/httpd/conf.d/phpMyAdmin.confThen add belowone as below.Replace Alias /nothing with your own
# Alias /phpmyadmin /usr/share/phpmyadmin
Alias /nothing /usr/share/phpmyadmin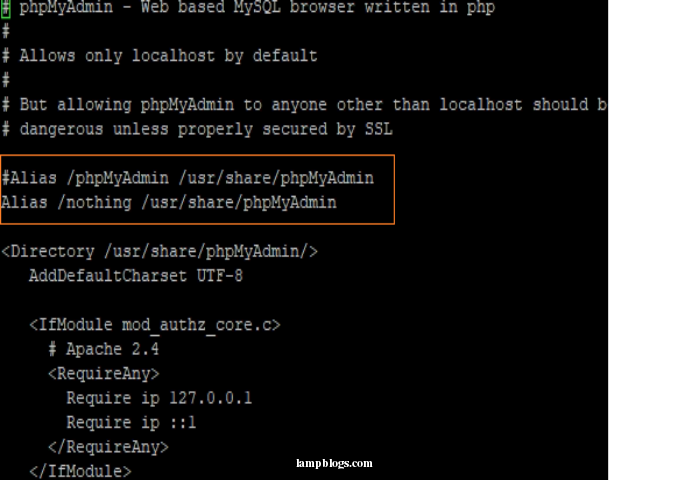
The above will allow us to access the phpmyadmin interface via http://<ipaddress/nothing and also include Require all granted directive as below in same file.
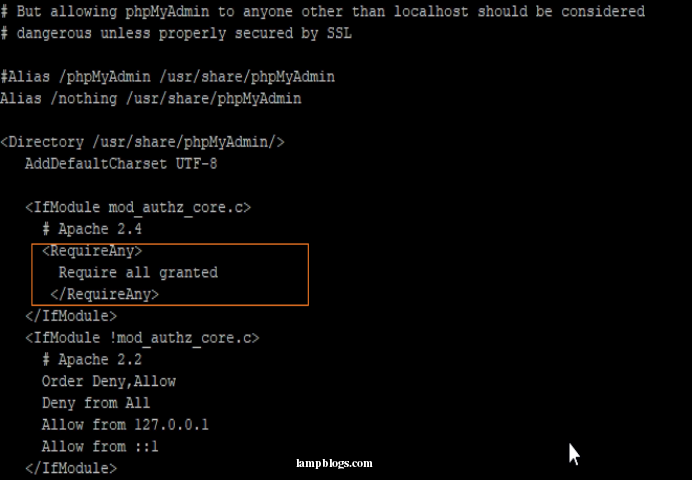
If you are using ubuntu make sure Apache reads phpmyadmin configuration as below
# echo "Include /etc/phpmyadmin/apache.conf" >> /etc/apache2/apache2.confFinally Restart Apache service as follows
# systemctl restart httpd ### Centos ###
# systemctl restart apache2 ### ubuntu ###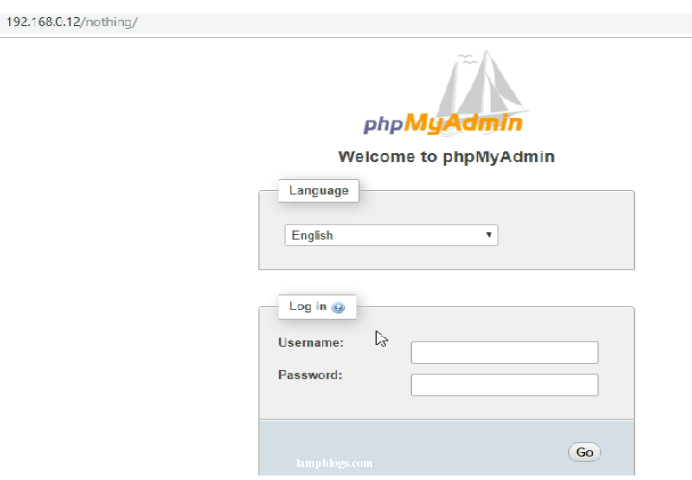
Step 2: Secure Access from Specific ip
By default all connections except those from localhost are denied. Since we will be accessing phpMyAdmin from remote locations we need to modify the configuration file and specify allowed IP addresses.
Open the phpMyAdmin Apache configuration file as below
[root@lampblogs ~]# vi /etc/httpd/conf.d/phpMyAdmin.confChange the two lines that read Require ip 127.0.0.1 with specified ip address
ex: office lan address or your office public ips ( search 'what is my ip' in google)
# Apache 2.4
<RequireAny>
    Require ip 192.168.0.1/24
#   Require ip ::1
</RequireAny>
Replace with your ip to acess phpmyadmin url from that specified range of ips only.
Step 3: Password protect on PhpMyadmin
For an extra layer of security we can set password protect the phpMyAdmin directory by setting up a basic authentication.
Add these lines to the Apache configuration file /etc/httpd/conf/httpd.conf
<Directory /usr/share/phpMyAdmin>
    AuthType Basic
    AuthName "Restricted Content"
    AuthUserFile /etc/httpd/.htpasswd
    Require valid-user
</Directory>
Then use htpasswd to generate a password file for an account that will be authorized to access the phpmyadmin login page
[root@lampblogs ~]# htpasswd -c /etc/httpd/.htpasswd lampblogsAfter entering password change the permissions and ownership of the file
# chmod 640 /etc/httpd/.htpasswd
# chgrp apache /etc/httpd/.htpasswd
Then restart apache service
[root@lampblogs ~]# systemctl restart httpd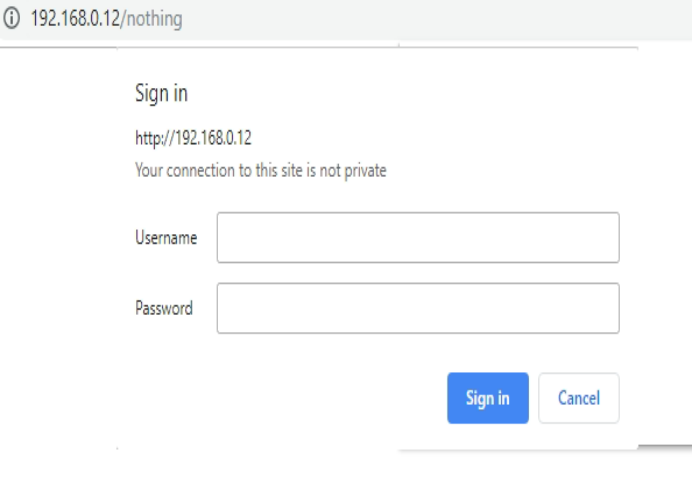
Step 4: Enable https on phpmyadmin
let’s secure the login page with a certificate.To do this, install mod_ssl package.
[root@lampblogs ~]# yum install mod_sslcreate directory to store key and certificate. After that create key as below
[root@lampblogs ~]# mkdir /etc/httpd/ssl
[root@lampblogs ~]# openssl req -x509 -nodes -days 365 -newkey rsa:2048 -keyout /etc/httpd/ssl/apache.key -out /etc/httpd/ssl/apache.crt
sample output as follows.
Generating a 2048 bit RSA private key
........+++
.....+++
writing new private key to '/etc/httpd/ssl/apache.key'
-----
You are about to be asked to enter information that will be incorporated
into your certificate request.
What you are about to enter is what is called a Distinguished Name or a DN.
There are quite a few fields but you can leave some blank
For some fields there will be a default value,
If you enter '.', the field will be left blank.
-----
Country Name (2 letter code) [XX]:IN
State or Province Name (full name) []:Telangana
Locality Name (eg, city) [Default City]:Hyderabad
Organization Name (eg, company) [Default Company Ltd]:Lampblogs
Organizational Unit Name (eg, section) []:Lampblogs
Common Name (eg, your name or your server's hostname) []:Lampblogs
Email Address []:admin@lampblogs.com
Now Apache must listen on port 443 and look for the Listen directive in /etc/httpd/conf/httpd.conf and add below lines at end of the file.
SSLEngine on
SSLCertificateFile /etc/httpd/ssl/apache.crt
SSLCertificateKeyFile /etc/httpd/ssl/apache.key
and also uncomment listen port as 443 in /etc/httpd/conf.d/ssl.conf
save changes. and check apache syntax with below command
[root@lampblogs ~]# httpd -t
Syntax OK
Add below line to /etc/phpMyAdmin/config.inc.php to force use of ssl
$cfg['ForceSSL'] = true;Now restart Apache service
[root@lampblogs ~]# systemctl restart httpdNow check in your browser.
