Install ImageMagick and PHP Imagick on Centos 8
ImageMagick is free software delivered as a ready-to-run binary distribution or as source code that you may use, copy, modify, and distribute in both open and proprietary applications.ImageMagick utilizes multiple computational threads to increase performance and can read, process, or write mega-, giga-, or tera-pixel image sizes.
Imagick is php extension for creating and modifying images using the ImageMagick API program.
In this article we will show you how to install imagemagick and php extension imagick on centos 8 system.
Step1: Install epel repo
you can install epel repo with following command.
dnf install epelAlso enable PowerTools repo
dnf config-manager --set-enabled PowerToolsWe hope you are following "How to Install ImageMagick and Php Imagick on Centos 8" step by step carefully. The remaining steps will help you to finish the upgrade process..
Step 2: Install ImageMagick
dnf update
dnf install ImageMagick ImageMagick-devel ImageMagick-perl
you can check version with following command.
convert --versionoutput:
[root@localhost ~]# convert --version
Version: ImageMagick 6.9.10-86 Q16 x86_64 2020-01-13 https://imagemagick.org
Step 3: Install php Imagick
make sure that you need to install below packages in your system.
dnf install php php-devel php-pear makeNow install php Imagick with pecl.(Pecl is a repository for Php Extensions) as shown below
pecl install imagickAdd php extension to php.ini file
echo "extension=imagick.so" > /etc/php.d/20-imagick.ini
Next, restart apache service to enable php extension
systemctl restart httpdyou can verify php imagick is installed and avaialble.
php -m | grep imagickoutput:
[root@localhost ~]# php -m | grep imagick
imagick
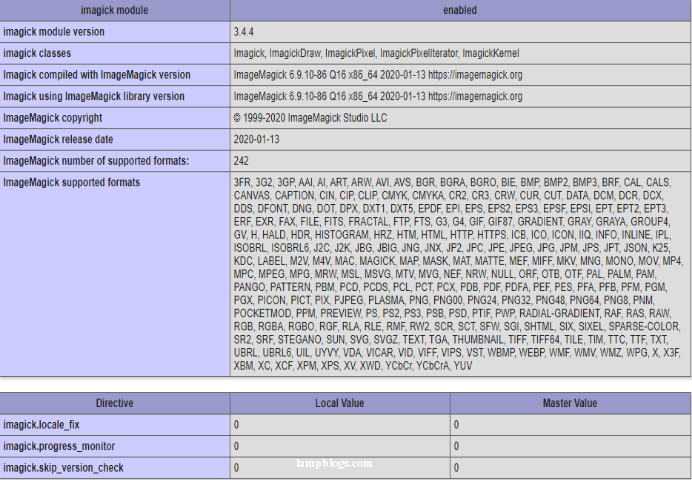
you can also check from php info url.
vi /var/www/html/info.phpAdd below to above file.
<?php
phpinfo();
?>
save and exit the file. Now open your browser and type below url
http://ip_address/info.php and verify Imagick module.


