
Install and configure jenkins in ubuntu 20.04
Jenkins is mainly used for Continues Integration and Continuous Deployment.It is open-source automation server that is used to automate software development.It helps to streamline the continuous development, testing and deployment of newly submitted code.
Jenkins was forked from the Oracle Hudson project and written in Java.
Step1 : Install Java in ubuntu 20.04
it supports Java 8 or Java 11 to run and here i am installing java 11.
root@ubuntu20:~# java --version
Command 'java' not found, but can be installed with:
apt install default-jre              # version 2:1.11-72, or
apt install openjdk-11-jre-headless  # version 11.0.8+10-0ubuntu1~20.04
apt install openjdk-13-jre-headless  # version 13.0.3+3-1ubuntu2
apt install openjdk-14-jre-headless  # version 14.0.1+7-1ubuntu1
apt install openjdk-8-jre-headless   # version 8u265-b01-0ubuntu2~20.04
root@ubuntu20:~# apt install openjdk-11-jre-headless
Reading package lists... Done
Building dependency tree
Reading state information... Done
The following additional packages will be installed:
  ca-certificates-java java-common libavahi-client3 libavahi-common-data libavahi-common3 libcups2 liblcms2-2 libnspr4 libnss3 libpcsclite1 libxi6 libxrender1
  libxtst6 x11-common
Suggested packages:
  default-jre cups-common liblcms2-utils pcscd libnss-mdns fonts-dejavu-extra fonts-ipafont-gothic fonts-ipafont-mincho fonts-wqy-microhei | fonts-wqy-zenhei
  fonts-indic
The following NEW packages will be installed:
  ca-certificates-java java-common libavahi-client3 libavahi-common-data libavahi-common3 libcups2 liblcms2-2 libnspr4 libnss3 libpcsclite1 libxi6 libxrender1
  libxtst6 openjdk-11-jre-headless x11-common
0 upgraded, 15 newly installed, 0 to remove and 35 not upgraded.
Need to get 39.4 MB of archives.
After this operation, 177 MB of additional disk space will be used.
Do you want to continue? [Y/n] y
once java is installed, verify version with folllowing command.
root@ubuntu20:~# java --version
openjdk 11.0.8 2020-07-14
OpenJDK Runtime Environment (build 11.0.8+10-post-Ubuntu-0ubuntu120.04)
OpenJDK 64-Bit Server VM (build 11.0.8+10-post-Ubuntu-0ubuntu120.04, mixed mode, sharing)
Step 2: Install Jenkins
we will enable the Jenkins repository, import the repository GPG key, and install the Jenkins package with the following commands.
First we will add Jenkins repository key to your system as shown below.
Also Read -> How to Install Graylog on Ubuntu 20 04
root@ubuntu20:~# wget -q -O - https://pkg.jenkins.io/debian/jenkins.io.key | sudo apt-key add -sample output:
root@ubuntu20:~# wget -q -O - https://pkg.jenkins.io/debian/jenkins.io.key | sudo apt-key add -
OK
Next configure Jenkins repository to the sources list file.
root@ubuntu20:~# sudo sh -c 'echo deb http://pkg.jenkins.io/debian-stable binary/ > /etc/apt/sources.list.d/jenkins.list'Now update the packages to use the added new repository and install Jenkins.
root@ubuntu20:~# apt update
root@ubuntu20:~# apt install jenkins
root@ubuntu20:~# apt install jenkins
Reading package lists... Done
Building dependency tree
Reading state information... Done
The following additional packages will be installed:
daemon
The following NEW packages will be installed:
daemon jenkins
0 upgraded, 2 newly installed, 0 to remove and 35 not upgraded.
Need to get 65.7 MB of archives.
After this operation, 66.8 MB of additional disk space will be used.
Do you want to continue? [Y/n] y
By default, Jenkins is started upon installation on Ubuntu 20.04 LTS. You can check it with the following command.
root@ubuntu20:~# systemctl status jenkins
● jenkins.service - LSB: Start Jenkins at boot time
     Loaded: loaded (/etc/init.d/jenkins; generated)
     Active: active (exited) since Fri 2020-09-04 12:16:10 UTC; 33min ago
       Docs: man:systemd-sysv-generator(8)
      Tasks: 0 (limit: 1685)
     Memory: 0B
     CGroup: /system.slice/jenkins.service
Sep 04 12:16:05 ubuntu20 systemd[1]: Starting LSB: Start Jenkins at boot time...
Sep 04 12:16:06 ubuntu20 jenkins[14895]: Correct java version found
Sep 04 12:16:06 ubuntu20 jenkins[14895]:  * Starting Jenkins Automation Server jenkins
Sep 04 12:16:07 ubuntu20 su[14932]: (to jenkins) root on none
Sep 04 12:16:07 ubuntu20 su[14932]: pam_unix(su-l:session): session opened for user jenkins by (uid=0)
Sep 04 12:16:10 ubuntu20 jenkins[14895]:    ...done.
Sep 04 12:16:10 ubuntu20 systemd[1]: Started LSB: Start Jenkins at boot time.
Incase if it is not running, start it and also enable to Auto start on boot.
root@ubuntu20:~# systemctl start jenkins
root@ubuntu20:~# systemctl enable jenkins
We hope you are following "How to Install Jenkins in Ubuntu 20 04 LTS" step by step carefully. The remaining steps will help you to finish the upgrade process..
Step 3: Adjust firewall
Jenkins by default is listening on port 8080.we need to allow it in firewall so that external users can access it.
root@ubuntu20:~# sudo ufw allow 8080/tcp
root@ubuntu20:~# sudo ufw reload
Also Read -> How to Install Elasticsearch on Ubuntu 20 04
Step 4: setup jenkins
Open up a web browser and navigate it to the following URL to set up Jenkins.
http://192.168.0.22:8080 (replace ip with your server ip)
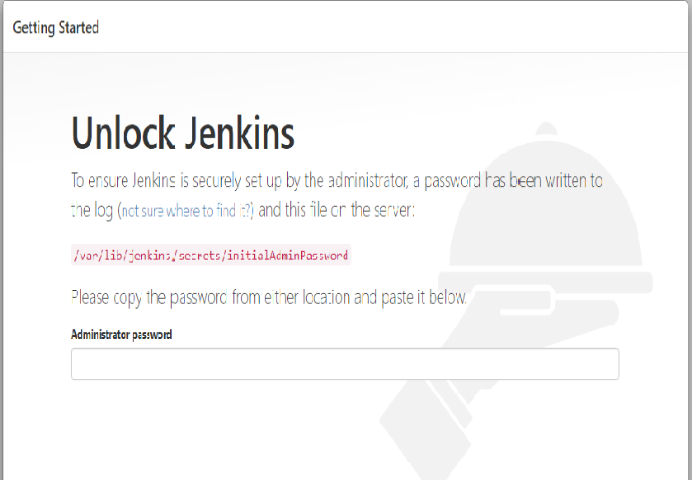
Copy the password from your terminal, paste it into the Administrator password field and click on continue.
root@ubuntu20:~# cat /var/lib/jenkins/secrets/initialAdminPassword
05f03a05b4b4428d8ea2b010db108353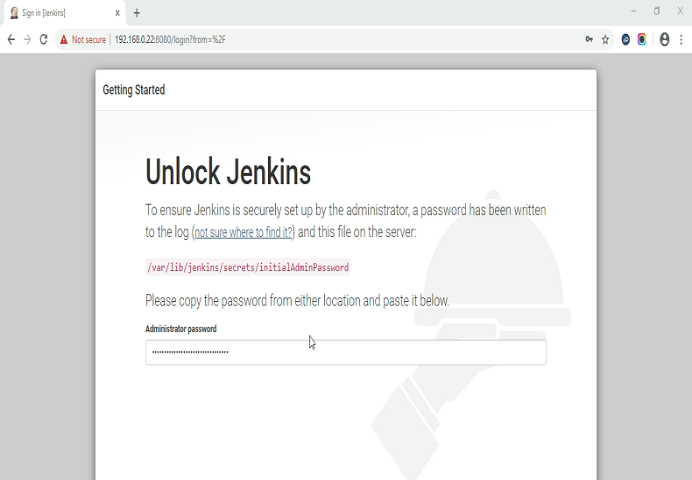
clik on continue. Next you will be able to customize the Jenkins installation
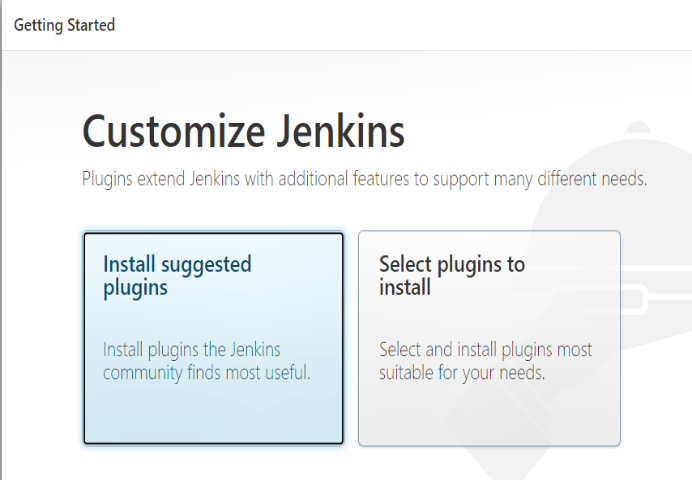
click on install suggested plugins, then immediately starts installation process.
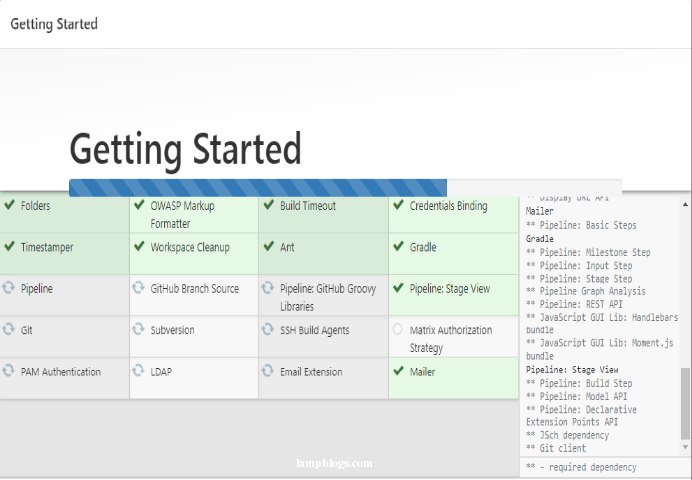
once installation is completed, you will be prompted to set up the first administrative user as shown below.
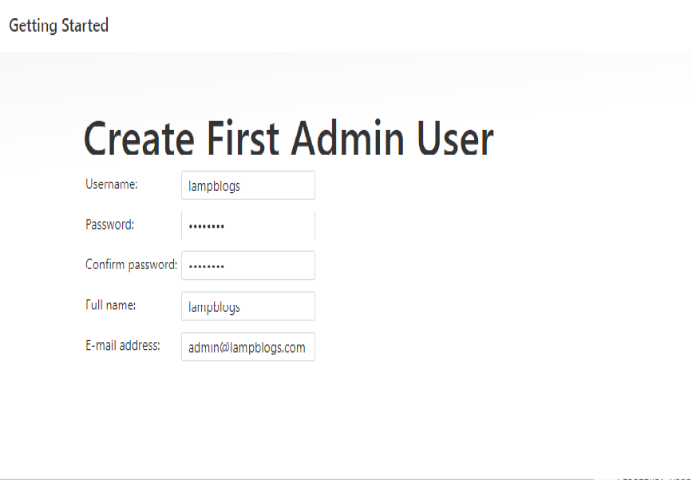
click on save and continue.Next it display the default URL for your Jenkin’s instance as shown below.
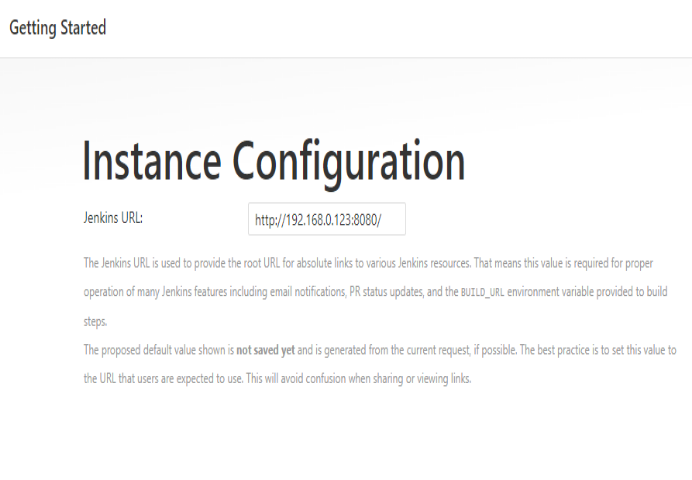
just click on save and Finish button. Now jenkins is Ready.
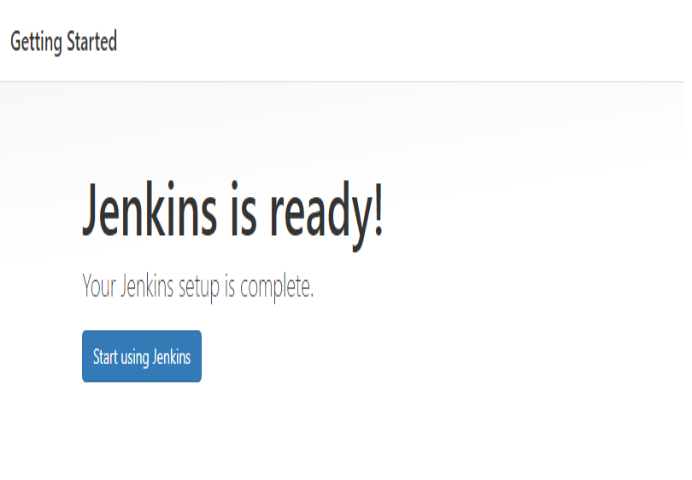
Finally click on 'start using Jenkins' button to access jenkins
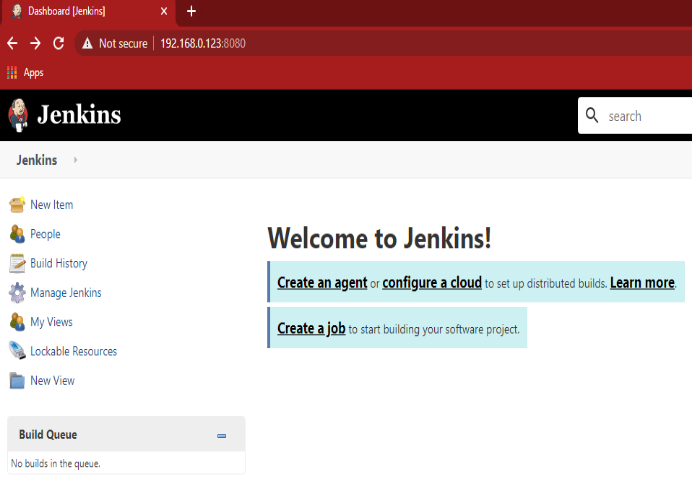
Now you have successfully installed Jenkins on your ubuntu 20.04 server.